Lyrics Presentation Generator
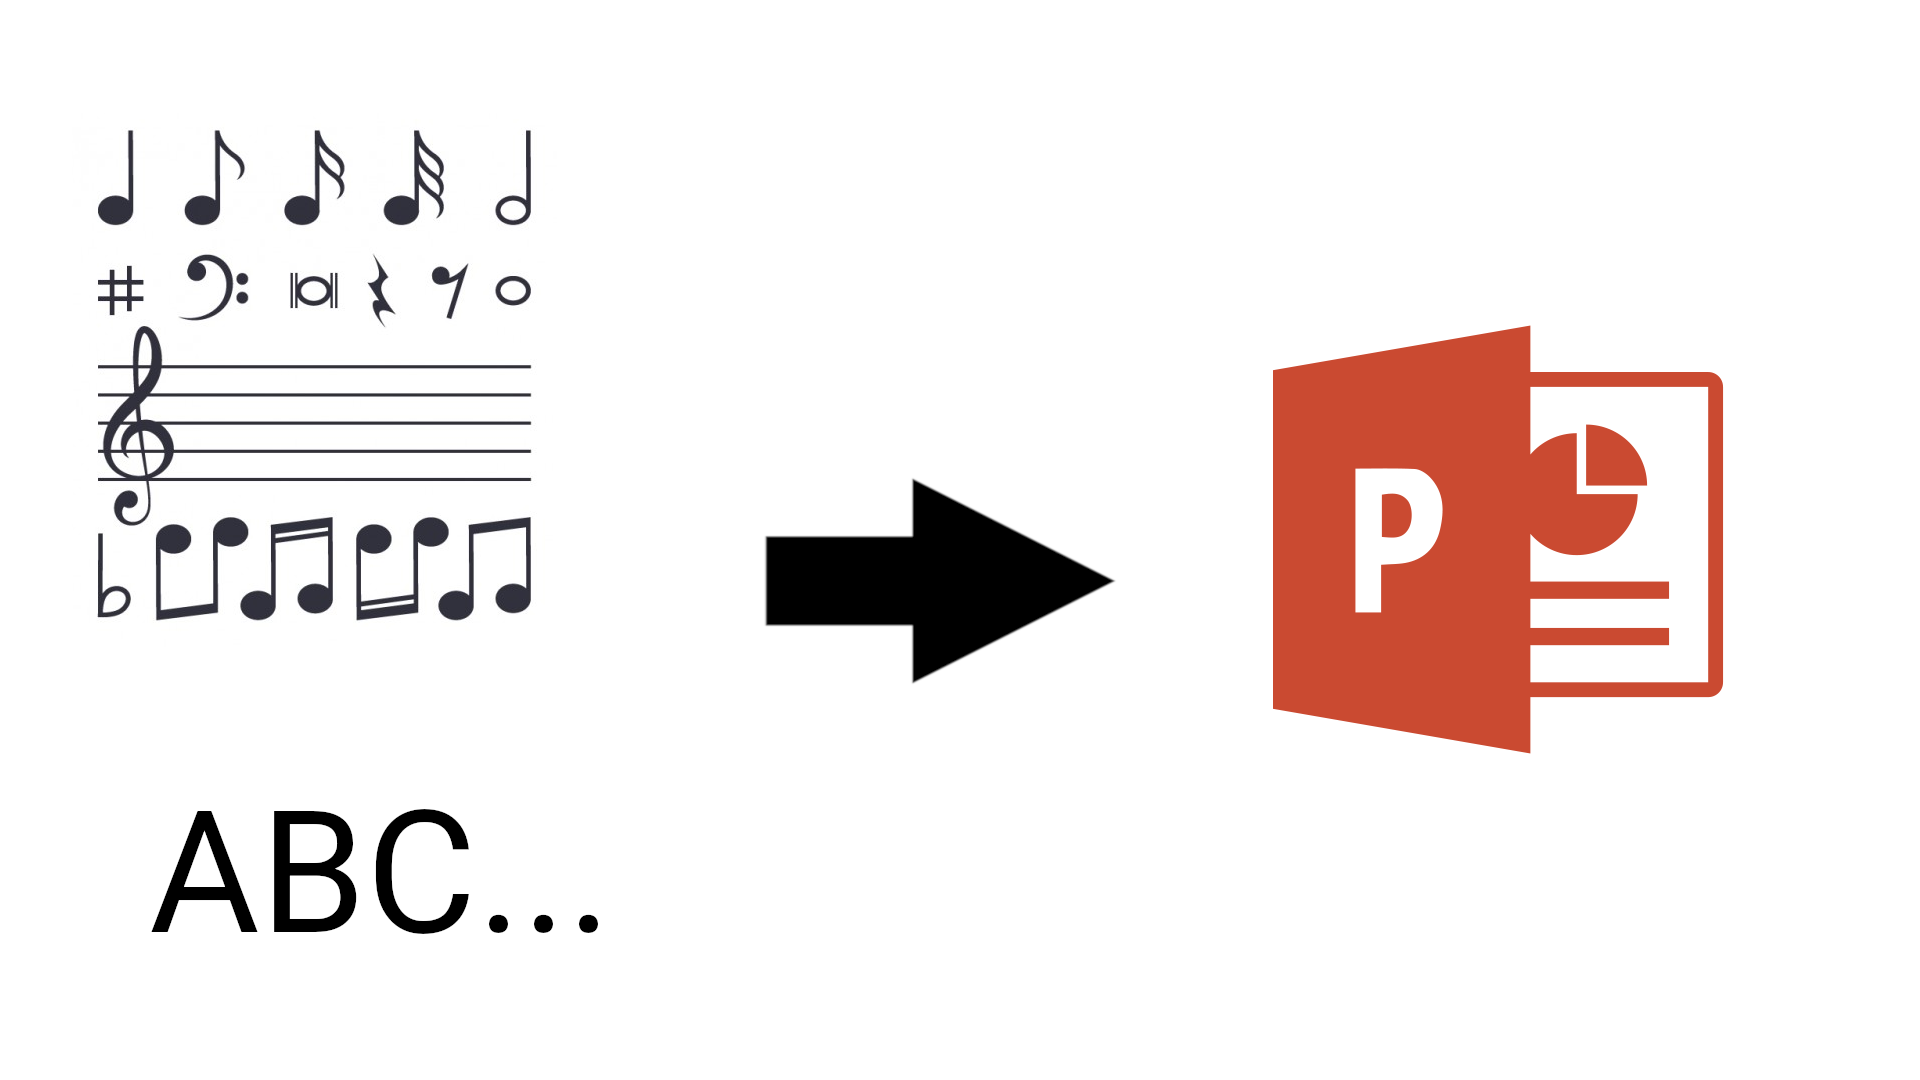
More often than not I find myself writing power point presentations for Lyrics. This usually happens in the youth service at church and in christian camps. Since the process is quite repetitive and simple enough I consider developing a web app to generate this presentations automatically. In this article I will show it how it works and how to use it.
The Problem
As said in the introduction the problem is basically, avoid writing over an over the presentation for the lyrics
The Solution
Developing a Web App to automatically generate the power point presentation. This app doesn't require any installation and will work from any browser, but for a better user experience it is recommended to use from a desktop/tablet environment. In this article, I will dedicate the next section to explain how to use it for non-technical users and then I will explain all its components from a technical perspective
Note: I understand the importance of responsive design but to in this case in order to produce a presentation that match the text, bigger dimensions than the usual cellphone provides are needed. Besides, it is unlikely that the user will download the presentation from a mobile device.
How to use it
The app is available online, as soon as you open it, you will see something like the following:

In the screen there are 3 main areas:
- Lyrics Area: is the area marked in orange, this is where the text of the lyrics will be written. To properly write the lyrics, one should follow the instructions (see below).
- Language Selection: In the top right corner, there are two flags marked with green, each flag changes the language of the whole page.
- Buttons: This area is marked with purple, it includes two buttons, one for generating the presentation and the other to clear the text area.
Instructions for writing the lyrics
In order to write the lyrics, the following guide should be followed:
- Write each Verse with no blank lines in between.
- Separate Verses with blank lines.
- Separate Songs with three dashes, "---".
The size of the Lyrics Area is set to match the resulting presentation so if the text fits well in the web page, it will fit in the presentation as well.
How it works (Technical)
This web app is built using vanilla HTML5, CSS3 and Javascript. Additionally, a Javascript library is used for creating the presentation, this library is PptxGenJS.
The CSS is written inside the HTML to avoid using another request, this is done because the whole style is about 100 lines and the whole app is contained in a single html file. The Javascript is separated to keep logic and presentation layers separated.
First I will show all the code and then split it into pieces and explain part by part
The Javascript code to achieved this is the following:
function createPPT() {
    var pptx = new PptxGenJS();

    pptx.setTitle("Presentation created with ELC's Presentation Generator");

    pptx.defineSlideMaster({
        title: 'Template',
        bkgd: '000000',
        objects: [{
            'placeholder': {
                options: {
                    name: 'body',
                    type: 'body',
                    x: 0,
                    y: 0,
                    w: "100%",
                    h: "100%",
                    align: "center",
                    fontSize: 44,
                    color: 'FFFFFF',
                    fontFace: 'Verdana',
                    valign: 'middle',
                    paraSpaceAfter: '6',
                    paraSpaceBefore: '6'
                },
                text: ''
            }
        }]
    });

    var text = document.getElementById('lyrics').value

    parseLyrics(text).forEach(verse => {
        if (verse === "---") {
            createSlide(pptx, '');
            return;
        }

        createSlide(pptx, verse);
    });

    pptx.save("Presentation - Created with ELCs Presentation Generator");
}

function parseLyrics(text) {
    return text.replace(/[\r\n]{3,}/, "\n\n").split("\n\n");
}

function createSlide(pptx, text) {
    var slide = pptx.addNewSlide('Template');
    slide.addText(text.toUpperCase(), {
        placeholder: 'body'
    });
}

function clearText() {
    document.getElementById('lyrics').value = '';
}

function changeLang(locale) {
    document.webL10n.setLanguage(locale);
}

window.addEventListener('localized', function () {
    document.getElementById('lyrics').value = document.webL10n.get('verse1') + "\n\n";
    document.getElementById('lyrics').value += document.webL10n.get('verse2') + "\n\n";
    document.getElementById('lyrics').value += document.webL10n.get('separator') + "\n\n";
    document.getElementById('lyrics').value += document.webL10n.get('verse1') + "\n\n";
    document.getElementById('lyrics').value += document.webL10n.get('verse2') + "\n\n";
    document.getElementById('lyrics').value += document.webL10n.get('verse3');
}, false);
Main Function
The createPPT function is the main function which is called whenever the "Generate Presentation" Button is clicked. It performs the following actions:
- Create the presentation object.
- Set the Title.
- Define the template
- Extract the text
- Add each of the slides
- Save the file
Each of the actions is represented in one of the following lines. To keep it simple, the most complex tasks are explained in further detail below. The methods used for setting the title and saving are self explanatory.
function createPPT() {
    var pptx = new PptxGenJS();

    pptx.setTitle("Presentation created with ELC's Presentation Generator");

    // Template Definition

    // Text Extraction

    // Add Slide

    pptx.save("Presentation - Created with ELCs Presentation Generator");
}
Template Definition
In order to achieve a consistent style, a template should be used. In my own experience, black background with white letters gives the best results. To define a Template the method defineSlideMaster. Its parameters corresponds to achieving slides with the following characteristics:
- Black Background Color:
bkgd: '000000' - Assing a unique title to use when creating the slide:
title: 'Template' - Give a unique identifier to a text element inside the slide:
name: 'body' - Set the coordinates for the text element:
x: 0, y: 0, - Set the dimensions, both width and height:
w: "100%", h: "100%", - Use a big font size:
fontSize: 44 - Use White color for the font:
color: 'FFFFFF' - Center the text horizontally and vertically:
align: "center", valign: 'middle', - Set paragraph spacing:
paraSpaceAfter: '6', paraSpaceBefore: '6'
When combining all the above and following the syntax provided by the official docs, the results is the following code:
// Template Definition
pptx.defineSlideMaster({
    title: 'Template',
    bkgd: '000000',
    objects: [{
        'placeholder': {
            options: {
                name: 'body',
                type: 'body',
                x: 0,
                y: 0,
                w: "100%",
                h: "100%",
                align: "center",
                fontSize: 44,
                color: 'FFFFFF',
                fontFace: 'Verdana',
                valign: 'middle',
                paraSpaceAfter: '6',
                paraSpaceBefore: '6'
            },
            text: ''
        }
    }]
});
Text Extraction
Once the template is defined, the text should be extracted, to achieved this a very common practice is used in JS. Just referenced the element by a given ID and then extract its value. In this case the element is a TextArea defined in HTML5
The resulting code is the following:
// Text Extraction

var text = document.getElementById('lyrics').value
Add Slide
After extracting the text, it should be parsed and then a new slide should be added for each verse.
The parsing function returns a list of strings, each being either a verse or a --- which basically mean "Empty Slide". Both the parseLyrics and the createSlide are explained below.
// Add Slide

parseLyrics(text).forEach(verse => {
    if (verse === "---") {
        createSlide(pptx, '');
        return;
    }

    createSlide(pptx, verse);
});
Parsing
One would never know what the user would write, and, in order to support several languages (specially those with special characters), it is important to use a separator that works universally, in this case the blank line will separate two verses and the three dashes (---) will separate songs.
In order to ignore several blank lines and then split a regular expression and then the split method is used.
function parseLyrics(text) {
    return text.replace(/[\r\n]{3,}/, "\n\n").split("\n\n");
}
Create Slide
Each slide will have a different text so to create a slide one should provide the engine (in this case the library pptx) and the text to be inserted (the text argument), then the new slide is created using the predefined template, after that the text in upper case is added using the placeholder defined in the template.
function createSlide(pptx, text) {
    var slide = pptx.addNewSlide('Template');
    slide.addText(text.toUpperCase(), {
        placeholder: 'body'
    });
}
Clear Text Button
In case the user wants to delete everything in the Lyrics Area, a button is provided, the functionality is overwriting the current content of the TextArea with an empty string.
function clearText() {
    document.getElementById('lyrics').value = '';
}
Localization
This extra feature provides client-side localization via WebL10n, each string of the web app is both available in English and Spanish, but more languages could be added in the future if needed.
function changeLang(locale) {
    document.webL10n.setLanguage(locale);
}

window.addEventListener('localized', function () {
    document.getElementById('lyrics').value = document.webL10n.get('verse1') + "\n\n";
    document.getElementById('lyrics').value += document.webL10n.get('verse2') + "\n\n";
    document.getElementById('lyrics').value += document.webL10n.get('separator') + "\n\n";
    document.getElementById('lyrics').value += document.webL10n.get('verse1') + "\n\n";
    document.getElementById('lyrics').value += document.webL10n.get('verse2') + "\n\n";
    document.getElementById('lyrics').value += document.webL10n.get('verse3');
}, false);