Embed Interactive Jupyter Notebooks in Static Websites for Free
After a lot of research on the internet, I found no practical tutorial explaining how to embed Jupyter Notebooks in Static Websites using only free technologies. I found a way to do it using Github Gists, MyBinder and NBInteract along with IPython Widgets and I want to share it so no one has to reinvent the wheel.
This is a step by step guide to embed Jupyter Notebooks in a static website. There is also an official tutorial available in the docs.
This guide will cover some points that aren't fully explained in the official tutorial, such as:
- Use Gists instead of Repositories
- Reduce the size of the output HTML
- Specify dependencies for Binder
- Use only some cells and insert them in a blog post via IFrames
Motivation
I really like using Jupyter Notebooks for my experiments and I also like to show them in this blog, which is a pure static website built with Pelican. The problem emerged when I wanted to embed some interactive content from the notebook in the website, I thought this should have been solved long ago but it wasn't or at least it wasn't as Public as it should be.
Having the possibility to embed Jupyter notebooks in a static website provides lots of advantages, just to mention a few:
- Visitors don't need to leave the site in other to see the notebook.
- Visitors can actually interact with the code and see the results live even without knowing how to program.
- You can provide a quick way to show the results with prior and posterior explanations without writing everything in a notebook.
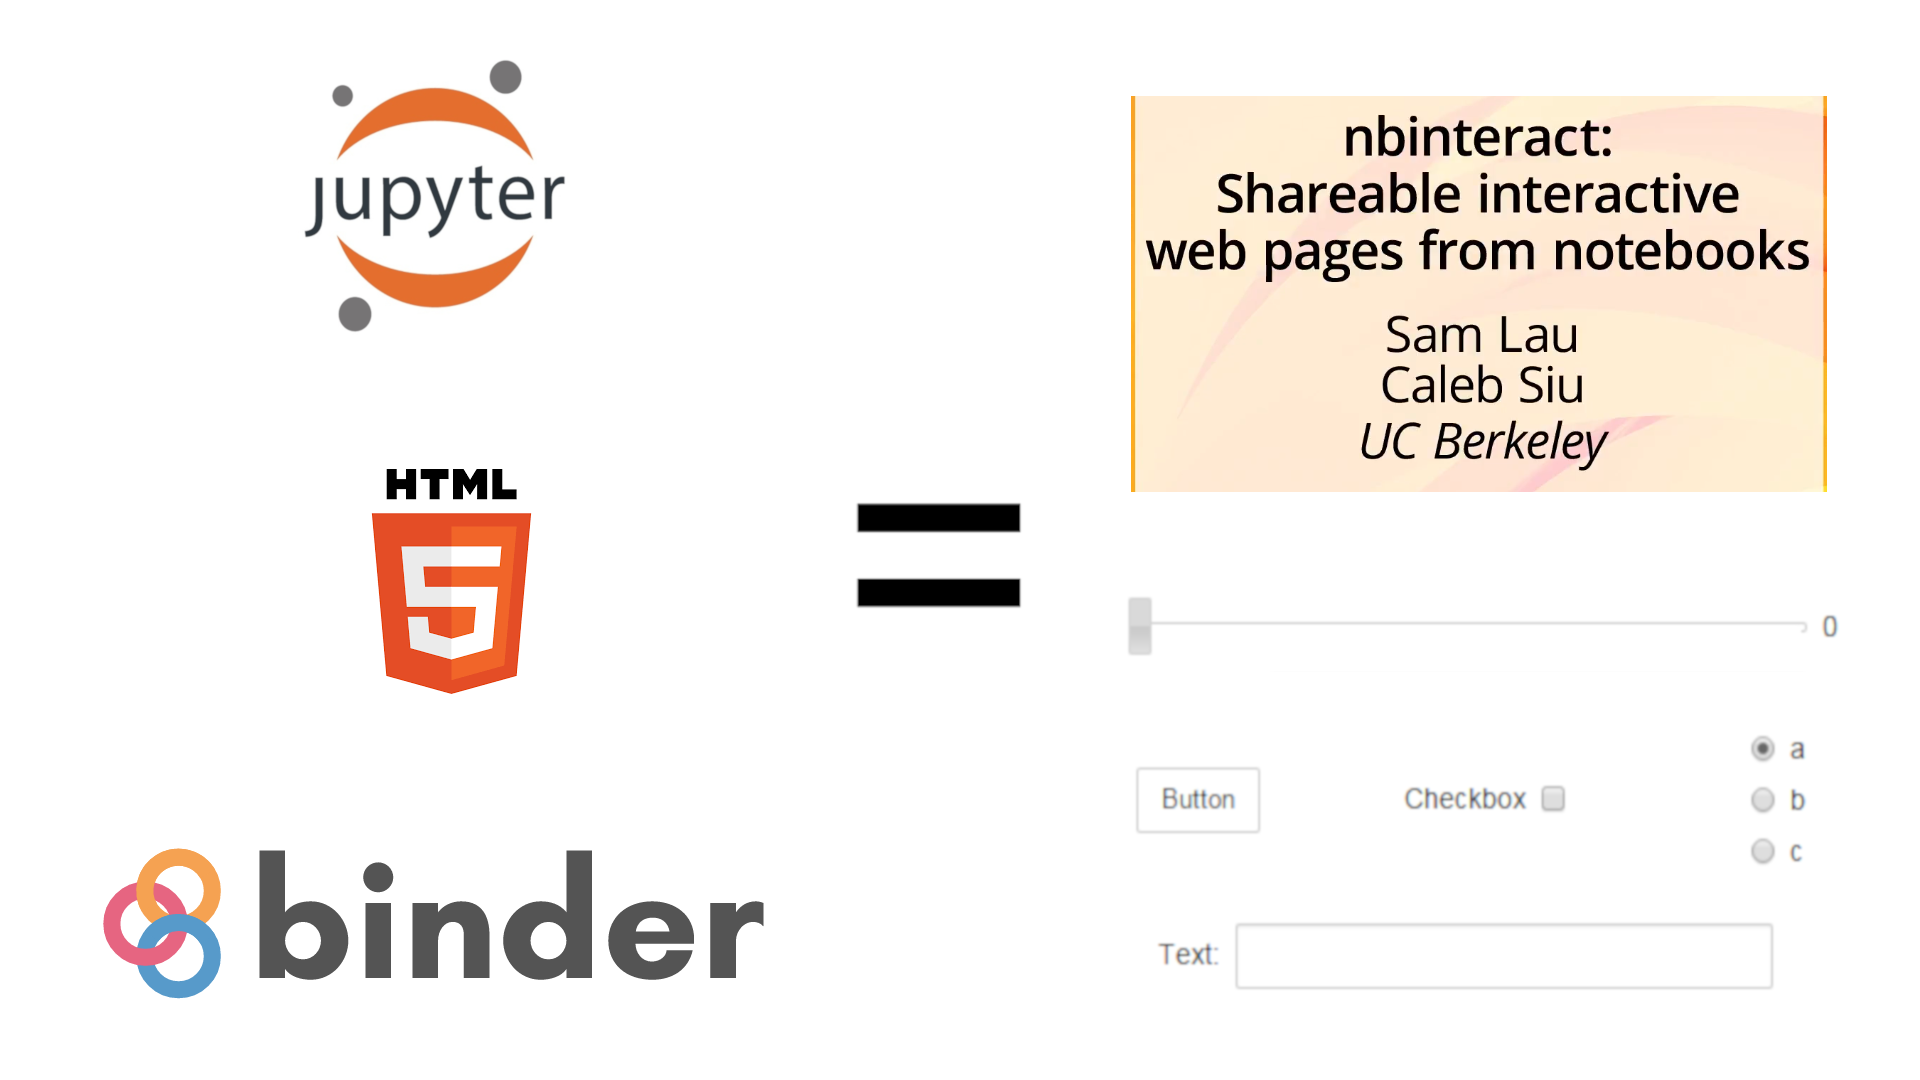
The Tech Stack
In order to do this, I used a set of tools. This is my personal choice but I believed is appropriate, of course, if you have any suggestions, feel free to write a comment below.
- Github Gists: To host the code and provide isolation.
- NBInteract: To communicate with a JupyterHub Server.
- IPython Widgets: To give interactivity to the notebook.
- MyBinder: To provide a server for the computations.
The key component here is NBInteract but the other tools were necessary too.
First, I want to clarify my workflow:
I want to write an isolated notebook that the user could run via Binder (1), I want to write a blog post about what I've done in that notebook (2) and in the post, I want to insert specific cells when appropriate (3). Additionally, I want my experiments pieces (the specific cells inserted) to be sharable, meaning any could embed them easily in their website (4) and I also want to track how many times they were used and from which source (5).
These 5 objectives are accomplished in the following way:
- Since my experiments are usually independent of each other, I host them in Github Gist instead of repositories. I believe it makes no sense to have a one-file Repo without a very sound reason.
- I use Pelican to write the post but you can use whichever tool you are used to. I know one could write posts inside Jupyter Notebooks themselves, even books have been written this way. But for consistency reasons, I want all my posts to be in Markdown.
- NBInteract is used to insert specific cells in the post. A little modification is needed to make it work with Gists instead of repositories.
- Everything above should be contained in a single HTML file and embedded through an IFrame.
- Integrate Google Analytics in the HTML from the previous step and add a filtered view in the admin panel to have a dedicated dashboard for this IFrames.
The full process could be separated into the following steps:
- Environment Setup
- Gist Creation
- IFrame Creation
- Testing and Adaptation
1. Environment Setup
First thing first, you need a fully working notebook. It should run all cells without errors in your local machine.
In order to take full advantage of this methodology make sure you use widgets (such as IPython's) to give control to the user. Don't rely on manually changing variables inside cells but rather provide a user-friendly interface with buttons and sliders, this will result in a much more pleasant and useful UX/UI for the reader of your blog. Besides, this way, the reader doesn't have to know programming at all!
When you have that done, you have to identify the notebook dependencies. It could be either from Conda, pip, apt or anywhere else.
There are basically four ways you can specify the dependencies for Binder
requirements.txt: only suitable for pypi-only dependenciesenvironment.yml: better for Conda dependencies and pypi dependenciesapt.txt: only option to specify apt dependencies.dockerfile: specify not only the dependencies but the whole OS.
The most common approach to work with Binder is a combination of environment.yml and apt.txt. Requirements.txt usually provide very little support for customization and dockerfile is discourage from the Binder developers themselves and should only be used when no other option worked.
A more detailed explanation which many other ways can be found in the official docs
2. Gist Creation
Gists are like small repositories, they have a sort of version control called "Revisions" but there are no branches, they provide simple updates one after the other. They are especially useful for cases where a repository is too much and just a few files are needed.
Here I will explain how to create a Gist in Github, in case you already know it, you can skip to the next section, where I explain how to set the dependencies for Binder.
Creating a Gist
In order to create a Gist, you have to first have a Github Account.
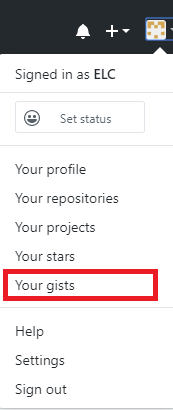
Once logged in, you have to click on your profile image in the top bar

Now select "Your Gists"
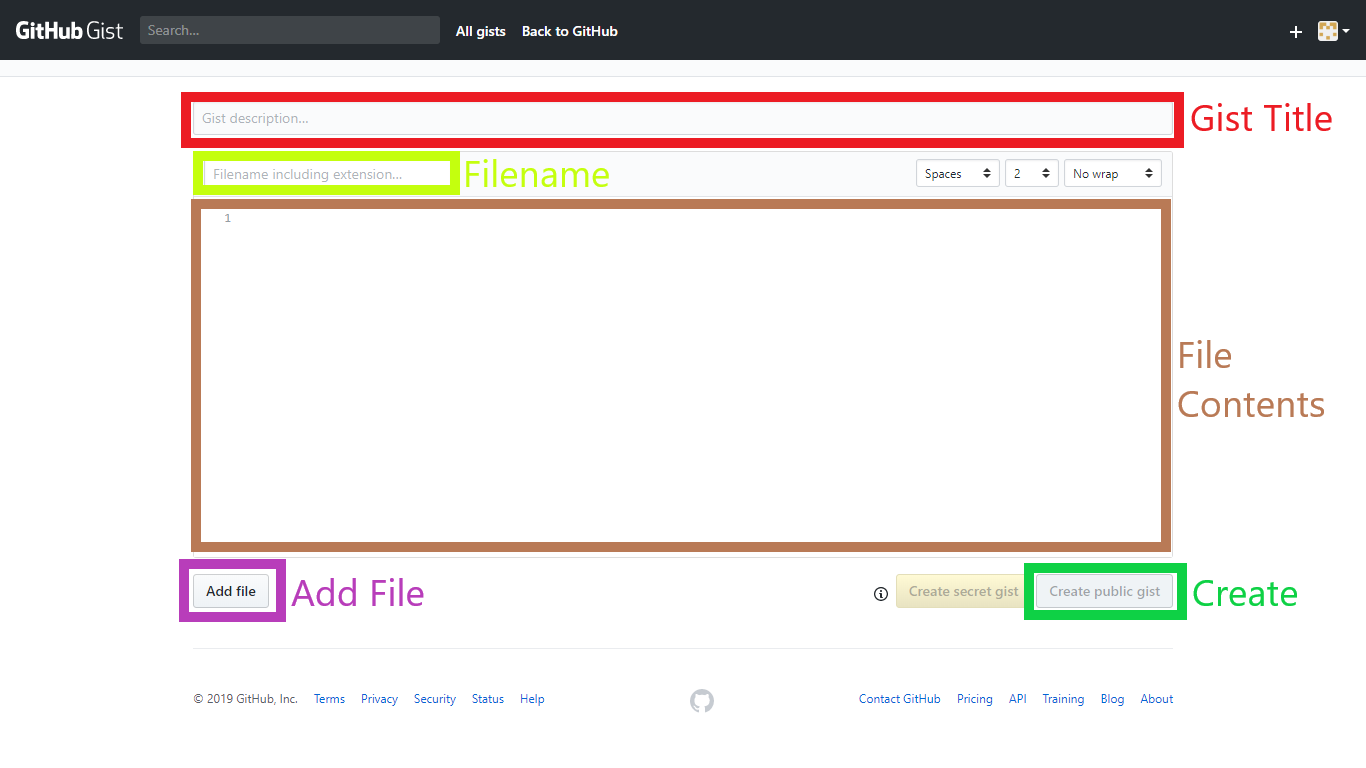
The next page will change if you already have gists created but the top bar will remain the same, in the top bar select the "+" icon

Now you are in the Gist creation Template, here you have to write the Gist Name, the filename of the first file, its contents and you can additionally add files if necessary with the button below. When everything is set up, click in create public gist.
Note: You can also create private gists for free but for NBInteract and thus this guide to work, the gist should be public.
Dependency Management
You have to create a Github Gist and upload all the files needed, namely:
- The repo/repository file (.ipynb files)
- The dependencies files (requirements.txt, environment.yml, apt.txt, dockerfile)
Once the gist is created, it should be tested with MyBinder
In order to test it first select the Combo Box in the main page
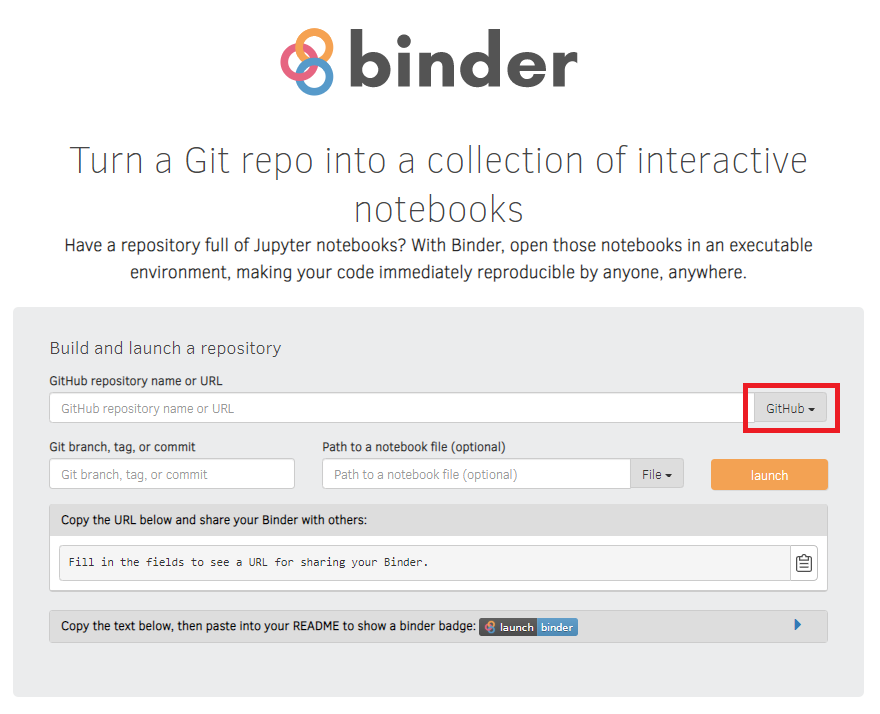
Then select the Gist Option
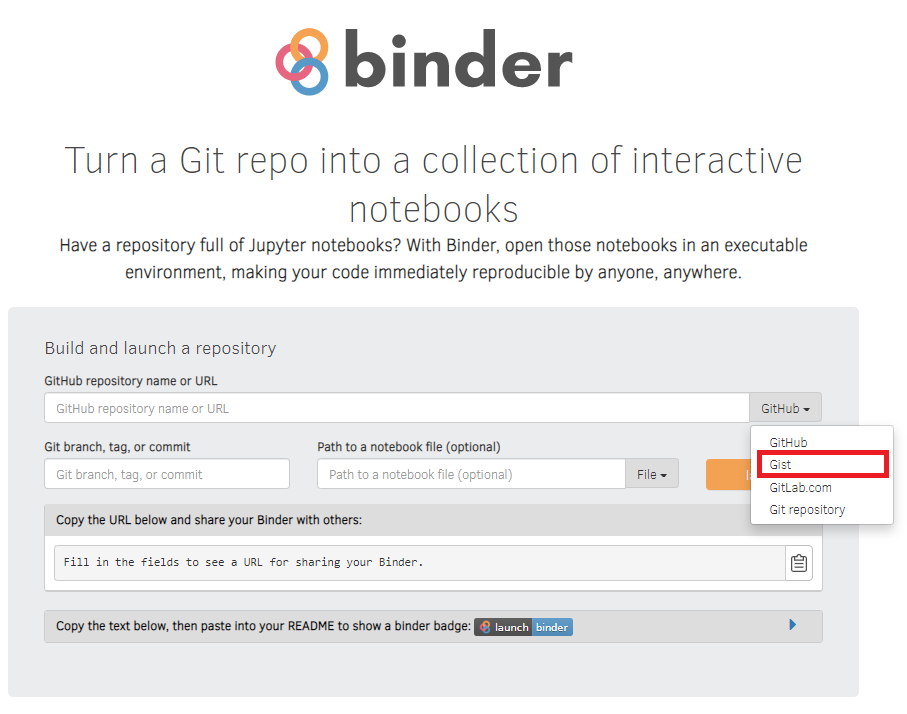
And finally, write the Username/GISTID in the textbox and then click on "Launch"
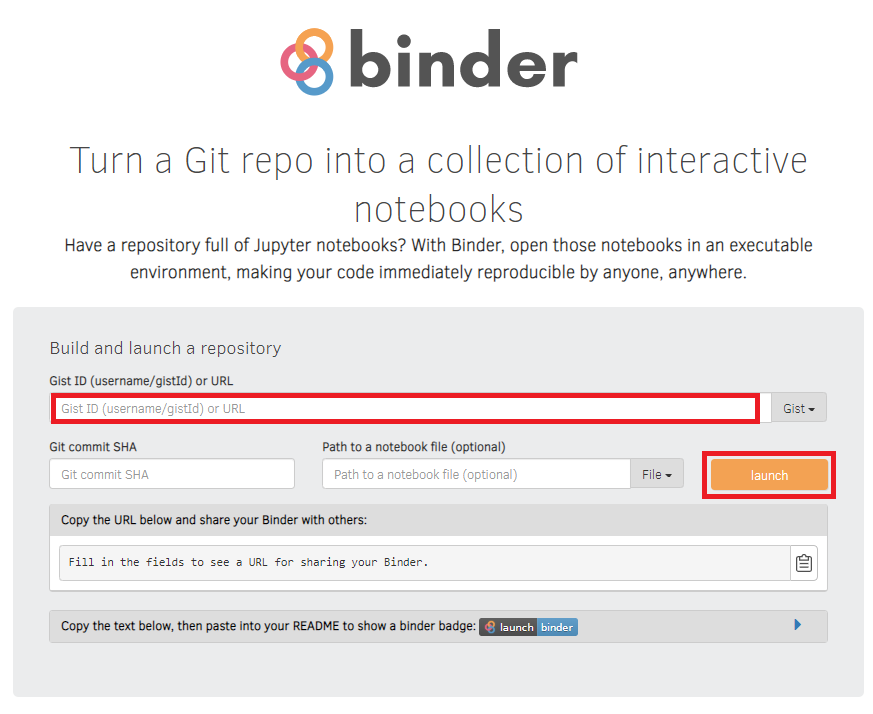
Note: The first time you launch could take several minutes because it's building a docker image, this process is repeated each time you change the Gist so it is a good idea to always run your gists on Binder after you made a change.
If the build was successful, open the notebook and run all the cells, check for errors, fix them until none appear and then continue to the next step.
This step might seem to be pretty easy but there are cases (especially when doing interesting things) that may require additional settings, for example, setting the FFMPEG dependency correctly for creating animations and videos.
You can check some of my personal examples of Gists:
- ODE with Python (environment.yml)
- Pascal Triangle Visualization (environment.yml + apt.txt)
With this step completed, you can add a Binder Badge in your post directly to the notebook. Although the main objective is to embed specific parts, it doesn't imply the user wouldn't want access to the whole notebook in a more familiar environment such as the one Binder Provides.
Example of a binder Badge (it leads to the a Notebook about Ordinary Differential Equations):
![]()
3. IFrame Creation
This is the most important part and where NBInteract comes in. For all the previous steps we used online tools such as Github Gists and MyBinder. But for this step, nbinteract should be install.
Installation
These are the installation instructions:
pip install nbinteract

# The next two lines can be skipped for notebook version 5.3 and above
jupyter nbextension enable --py --sys-prefix widgetsnbextension
jupyter nbextension enable --py --sys-prefix bqplot
The steps for the installation could be found in its official repo, make sure to check it in case there is an update.
Usage
The nbinteract is a command line application (CLI), so first navigate to the directory where the notebook file is and then run:
nbinteract {notebook_filename}.ipynb -s {GitHub_UserName}/{Gist_ID}
This will create an HTML file with the same filename of the notebook, but as mentioned earlier, the current version of NBInteract (0.2.4 when writing this) only supports Github Repositories and not Gists.
To fix this problem, just open the HTML file and look for this snippet (it should be at the end of the file):
<script>
    (function setupNbinteract() {
        // If NbInteract hasn't loaded, wait one second and try again
        if (window.NbInteract === undefined) {
        setTimeout(setupNbinteract, 1000)
        return
        }

        var interact = new window.NbInteract({
        spec: '{GitHub_UserName}/{Gist_ID}/master',
        baseUrl: 'https://mybinder.org',
        provider: 'gh',
        })
        interact.prepare()

        window.interact = interact
    })()
</script>
Only a small change is needed, change the provider from gh to gist. It should be something like this:
<script>
    (function setupNbinteract() {
        // If NbInteract hasn't loaded, wait one second and try again
        if (window.NbInteract === undefined) {
        setTimeout(setupNbinteract, 1000)
        return
        }

        var interact = new window.NbInteract({
        spec: '{GitHub_UserName}/{Gist_ID}/master',
        baseUrl: 'https://mybinder.org',
        provider: 'gist',
        })
        interact.prepare()

        window.interact = interact
    })()
</script>
Adjustments
Now the file is already prepared to be embedded as an HTML IFrame, but although that's technically true, we might want to make other adjustments:
- Create a valid HTML5 document (some closing tags may be missing).
- Reduce the size of the file (by default they are quite big).
- Use only a subset of cells and not the whole notebook.
- Add a tracking system.
HTML5
The first adjustment is for improving SEO and compatibility, it will depend on every particular case as each notebook may need its own little changes. The W3C has an online validator to check for Markup errors and warnings
Size
The second adjustment is needed since nbinteract inserts Bootstrap and Font Awesome by default in the HTML, you can check it because the style tag covers approximately a 95% of the file. With custom styles and a careful selection of CSS classes, one can reduce the size pretty significantly. In my own experience, I manage to reduce from 14000 lines to 400 (318KB to 25KB), this is a reduction of the 90%!
Of course it may vary from user to user but since file size is crucial for a good user experience, I recommend to tweak and adapt the file to be as little as possible, and remember to use CSS in style tags and not relying on the website general CSS, this would be the only way to provide the same look and feel when the file is used as an IFrame. This way each file will be completely independent of each other.
Specific Cells
The third adjustment is more of a hack actually. NBInteract is designed so that the user would use the notebook as the entire page but if the notebook contains just some cells (each with the proper imports), one can create minimal notebooks and insert them individually in a larger pure HTML page
Just use nbinteract with a notebook file containing only the cells you are interested in. This will naturally lead to having as many .ipynb files as a group of cells you want to embed, each with an associated HTML file. It isn't a good idea to have everything in a big Notebook but neither is to have dozens of little notebooks. I believe a reasonable amount would be between 5 and 10.
Tracking System
The fourth and last adjustment will depend on the tracking system of your choice but generally, it implies adding some script tag at the end of the file with a specific tracking ID. But DO NOT add the system yet! Let's test it and then add it to avoid meaningless analytics (unless you've added your IP as an exception in the Tracking System).
4. Testing and Adaptation
Lastly, you should embed the IFrame in your website and test it, here is where you should modify the styles according to the general aesthetics of the page and check if all works as desired. Make sure the IFrame size is correct for its content (avoid scrollbars)
You can also test whether you want the input cells to be visible or only let the output to be rendered.
After everything is tested, you can now add the tracking ID for the Analytics service (Google Analytics or the one of your choice)
To make your IFrame easier to share, add an HTML snippet to specify how to embed your IFrame in other pages, see the examples below.
Examples
You can find some examples in the official docs but I've also built some that you may find interesting. You can check the following posts to see them:
Ordinary Differential Equations
Use NBInteract to numerically integrate several types of differential equations (including systems of ODEs) and change the parameters with sliders and see the results live.
If you want to embed this widget in your website, just add the following HTML:
<iframe src="https://elc.github.io/blog/iframes/ode-python/foxes-rabbits-iframe.html"></iframe>
Read the Full Article
Circular Times Table
Use NBInteract to produce a video with matplotlib animation and FFmpeg. The user can create an image and a video with the set of parameters of their choice and then save them.
If you want to embed this widget in your website, just add the following HTML:
<iframe src="https://elc.github.io/blog/iframes/times-tables/times-table-line-by-line-iframe.html"></iframe>
Read the Full Article
Additional resources
In case you want to go deeper, here are some useful resources:
- NBInteract Official Repository
- NBInteract Official Docs
- NBInteract Gitter Channel
- JupyterCon Talk from the creators of NBInteract
- NBInteract: Official Technical Report
Other resources to achieve similar things are:
- NBDime: Tool to work with git and Jupyter Notebook for easy Diff
- JupyterBook: This tool also integrates executable and interactive notebook cells but rather than embedding them into a webpage, it creates the whole website. Alternative to GitBook
- Voila: Interactive renderer for creating Dashboards
- SageMathCell: A way to generate embeddings online for cells of notebooks. It supports Sage, Gap, GP, HTML, Maculay2, Maxima, Octave, Python, R and Singular
- ThebeLab: Thebe Lab turns your static HTML pages into interactive ones, powered by a kernel. It is an experiment attempting to rebuild Thebe with javascript APIs provided by JupyterLab.
- Awesome Jupyter: A curated list of awesome Jupyter projects, libraries and resources.